How to setup Google Search Console/Webmaster Tools and Google Analytics
Next Step after purchasing SSL, you have to adjust your settings in Google Webmaster Tools/Search Console and Google Analytics accordingly. It’s not much work, but it’s important you fix it.
In short, you need to set your primary domain in both Webmaster Tools as in Google analytics to your https domain. I’ll discuss Search Console first, but it really doesn’t matter in which order you do it.
Next Step after purchasing SSL
Google Analytics
First, navigate to http://analytics.google.com
After you move to SSL, you should change your domain in Google Analytics to https. This way, GA starts registering your hits again. I would recommend using the .htaccess redirect if you’re on apache.
GA might not register hits if the site is not redirecting properly to https.
The language on the screenshots is not English, but it will look the same in English.
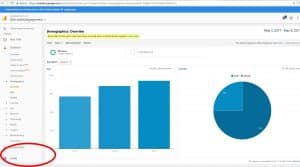
To update the GA settings, in Google Analytics, first go to your website dashboard, and click the cogwheel at the bottom, “Admin” .
Related: The Complete Scope of Work To Build a WordPress Website
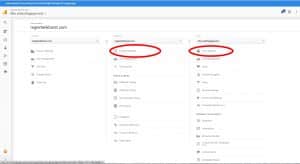
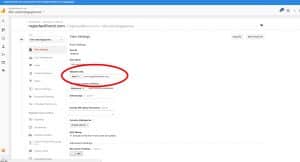
Now there are two urls that need to be changed. For tracking, only the url under “view settings” appears to be important, but I would change both anyway.
So first, click “property settings”, and change the default url. Then click “view settings” and change the website url.
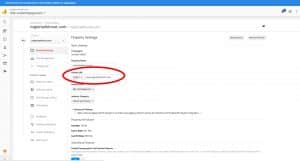
Now, change the protocol to https for both url’s
That’s it! Your site is now correctly configured for SSL.
Next Step after purchasing SSL
Webmaster Tools / Search Console
First navigate to https://www.google.com/webmasters/tools/home.
In Google Search Console (Google Webmaster Tools), you should add the https variant, and select a preferred domain.
This can be both the www or non-www variant of your domain. You should add all variants of your domain:
- http://domain.com
- http://www.domain.com
- https://domain.com
- https://www.domain.com
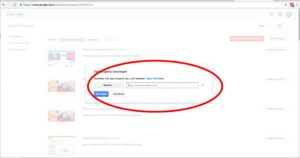
If you don’t know how to add a new property, follow these instructions from Google.
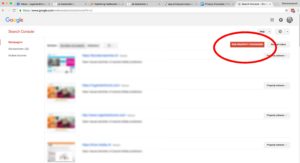
As you will have four properties for each site, you can also create a set, in which you bundle all properties for one domain. To create a set, click the “create a set” button to the right of the red “create property” button.
The preferred domain should match the one in the general settings of WordPress, the site url. To set as your preferred domain, do the following:
- On the Search Console Home page, click the site you want.
- Click the gear icon, and then click Site Settings.
- In the Preferred domain section, select the option you want.
Next Step after purchasing SSL
Bing
For Bing user please follow these steps:
– Add a new sitemap with https
– Use the site move tool to make sure Bing knows it is moved to https:
https://www.bing.com/webmasters
Next Step after purchasing SSL
WordPress SSL
if you own a wordpress website, you can use this plugin called really simple ssl If you experience any issues with your sitemap after migrating to SSL while using the Yoast SEO plugin for wordpress,
you can disable and enable the Yoast plugin once. That will change all links in the sitemap to https://.


[…] Next step is to fix your google search console which will let google know that you are secured now. And fixing google analytics. Read more about “How to setup Google Analytics & Google search console after purchasing SSL” […]